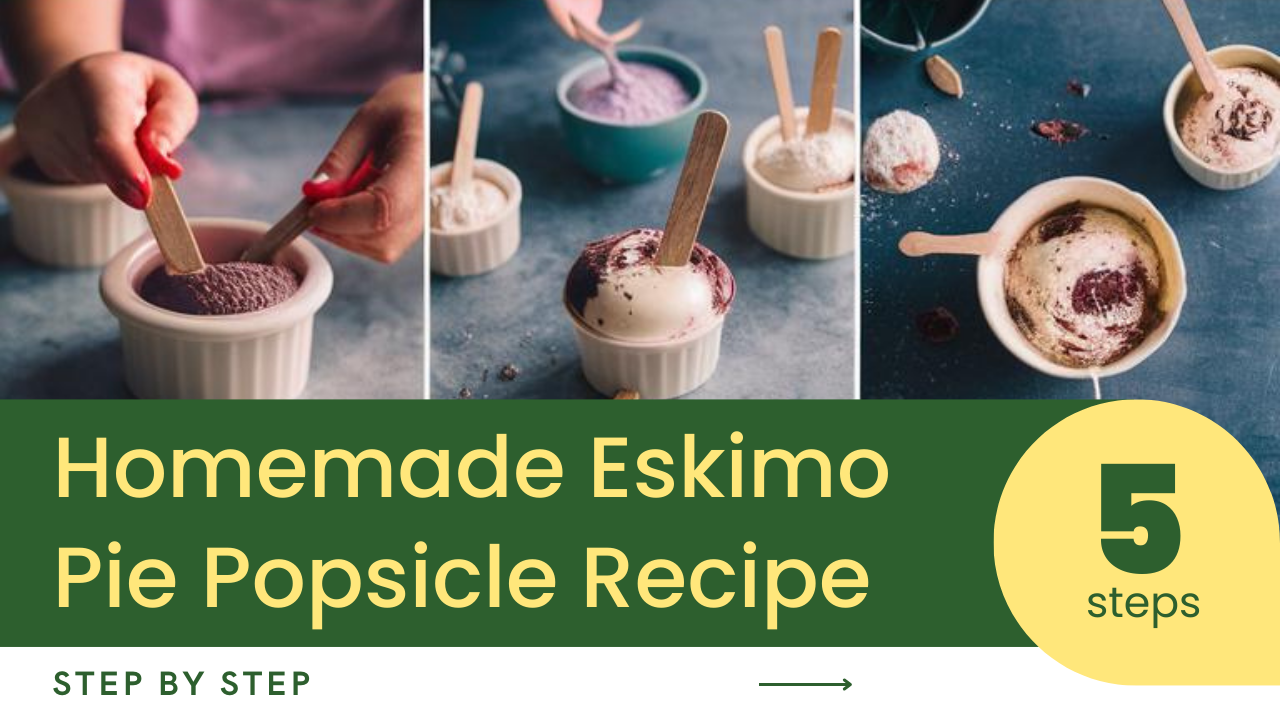
Homemade Eskimo Pie Popsicle Recipe
Introduction
The Eskimo Pie is a beloved frozen treat that has been delighting taste buds for nearly a century. Originally created in the early 1920s, this chocolate-covered ice cream bar quickly became a favorite in households across the United States. But why settle for store-bought versions when you can easily make your own at home? With a few simple ingredients and some basic kitchen tools, you can create delicious homemade Eskimo Pie Popsicles that are perfect for any occasion.
Making these popsicles at home not only allows you to control the quality of ingredients but also lets you customize the flavors to suit your preferences. Whether you’re looking for a fun activity to do with the kids or simply craving a nostalgic treat, this recipe is sure to satisfy your sweet tooth.
Ingredients
For the Chocolate Coating:
- 1 cup of semi-sweet chocolate chips or chopped chocolate
- 2 tablespoons of coconut oil (optional, for a smoother coating)
For the Ice Cream Filling:
- 2 cups of vanilla ice cream (or your favorite flavor)
- Optional: Add-ins like crushed cookies, nuts, or fruit
Tools and Equipment
Before you begin, make sure you have all the necessary tools and equipment to make the process smooth and enjoyable. Here’s what you’ll need:
- Popsicle molds: These are essential for shaping your Eskimo Pie Popsicles. If you don’t have molds, you can use small paper cups or silicone baking cups as a substitute.
- Popsicle sticks: You’ll need these to hold the popsicles once they’re frozen. Wooden sticks are the most common, but you can also use reusable plastic ones.
- Microwave-safe bowl or double boiler: This is for melting the chocolate. A microwave-safe bowl works well for quick melting, while a double boiler gives you more control over the heat.
- Freezer: Make sure you have enough space in your freezer to lay the popsicle molds flat while they freeze.
- Small spatula or spoon: Useful for spreading the softened ice cream evenly into the molds.
With these ingredients and tools ready, you’re all set to start making your homemade Eskimo Pie Popsicles!
Step-by-Step Instructions
Step 1: Prepare the Ice Cream Filling
Start by selecting your preferred ice cream flavor. Vanilla is a classic choice for traditional Eskimo Pies, but feel free to get creative with other flavors like chocolate, strawberry, or mint. If you want to add a bit of texture or extra flavor, consider mixing in some crushed cookies, nuts, or fruit before molding.
Before filling the molds, allow the ice cream to soften slightly at room temperature. This will make it easier to spread evenly into the molds without creating air pockets. Depending on the temperature of your kitchen, this should take about 5-10 minutes.
Step 2: Molding the Ice Cream
Once the ice cream is softened, spoon it into your popsicle molds, filling each one to the top. Use a small spatula or the back of a spoon to smooth the surface, ensuring there are no gaps or bubbles. If you’re using add-ins, make sure they’re evenly distributed throughout the mold.
After the molds are filled, insert the popsicle sticks into the center of each mold. If your molds have lids with slots for the sticks, this will help keep them upright as they freeze. If not, you can cover the molds with foil and poke the sticks through the top to keep them in place.
Place the molds in the freezer and allow the ice cream to freeze completely. This usually takes at least 4-6 hours, but for best results, let them freeze overnight.
Step 3: Prepare the Chocolate Coating
While the ice cream is freezing, you can prepare the chocolate coating. In a microwave-safe bowl, combine the chocolate chips or chopped chocolate with the coconut oil. The coconut oil helps create a smoother, thinner coating, but it’s optional. If you prefer a thicker coating, you can omit it.
Melt the chocolate in the microwave in 20-second intervals, stirring after each until the chocolate is fully melted and smooth. Alternatively, you can melt the chocolate using a double boiler on the stovetop, which gives you more control over the temperature and reduces the risk of burning the chocolate.
For extra flavor, you can add a few drops of flavor extracts like vanilla or mint to the melted chocolate. You can also mix in finely chopped nuts or sprinkles if you want a more textured coating.
Step 4: Dip and Coat the Popsicles
Once the ice cream has fully frozen, it’s time to coat the popsicles in chocolate. Start by removing the popsicles from the molds. To make this easier, you can run the outside of the molds under warm water for a few seconds, which should help the popsicles slide out smoothly.
Working quickly, dip each popsicle into the melted chocolate, ensuring it is fully coated. If your bowl is too shallow for dipping, you can use a spoon to pour the chocolate over the popsicle while holding it over the bowl. The cold temperature of the ice cream will cause the chocolate to harden almost instantly.
If you want to add extra toppings like crushed nuts, sprinkles, or coconut flakes, do so immediately after dipping, while the chocolate is still soft. This way, the toppings will stick as the chocolate sets.
Step 5: Final Freeze
After coating the popsicles, place them on a baking sheet lined with parchment paper. This will prevent them from sticking to the surface as they freeze again. For best results, give the popsicles another 30 minutes to an hour in the freezer after coating to ensure the chocolate is fully set and the ice cream is firm.
If you’re not planning to eat all the popsicles right away, you can store them in an airtight container in the freezer. Separate layers with parchment paper to prevent them from sticking together. Properly stored, they can last for up to two weeks.
Tips and Tricks
Here are a few additional tips to ensure your homemade Eskimo Pie Popsicles turn out perfectly:
- Preventing Chocolate from Cracking: To avoid the chocolate cracking when you bite into the popsicles, make sure the coating isn’t too thick. Adding a bit of coconut oil to the melted chocolate helps create a smoother, more flexible coating.
- Storing Popsicles: For longer storage, wrap each popsicle individually in plastic wrap or parchment paper before placing them in an airtight container. This helps preserve their texture and prevents freezer burn.
- Alternative Fillings and Coatings: Feel free to experiment with different ice cream flavors and coatings. For a healthier version, consider using frozen yogurt or a dairy-free alternative for the filling, and dark chocolate for the coating.
Serving Suggestions
Homemade Eskimo Pie Popsicles are a delightful treat that can be enjoyed on their own, but there are plenty of ways to make the experience even more special. Here are some serving suggestions:
- Dessert Platter: Arrange the popsicles on a platter alongside other frozen treats like sorbet, fruit, or ice cream sandwiches. This is perfect for a summer party or family gathering.
- Pair with Hot Beverages: Serve the popsicles alongside a cup of hot coffee, tea, or hot chocolate. The contrast between the hot drink and the cold popsicle creates a unique and enjoyable experience.
- Ice Cream Sundae: Break the popsicles into pieces and use them as a topping for an ice cream sundae. Add whipped cream, cherries, and nuts for an extra indulgent treat.
- Festive Presentation: For holidays or special occasions, decorate the popsicles with themed sprinkles or edible glitter before the chocolate hardens. You can also tie a ribbon around the stick for an added touch of elegance.
Nutritional Information
Here’s a basic nutritional breakdown for one homemade Eskimo Pie Popsicle, assuming you use vanilla ice cream and semi-sweet chocolate:
- Calories: Approximately 200-250 calories per popsicle, depending on the size and specific ingredients used.
- Fat: About 15 grams, primarily from the chocolate and ice cream.
- Sugar: Around 15-20 grams, depending on the sweetness of the ice cream and chocolate.
- Protein: 3-4 grams, mainly from the ice cream.
If you’re looking to make a healthier version, consider using low-fat or dairy-free ice cream and dark chocolate, which has less sugar and more antioxidants than milk chocolate. You can also reduce the amount of chocolate coating to lower the overall calorie count.
Variations and Customizations
One of the best parts about making homemade Eskimo Pie Popsicles is the ability to customize them to your liking. Here are some variations and customizations you can try:
- Dairy-Free or Vegan Alternatives: Use a dairy-free ice cream made from almond, coconut, or oat milk. For the coating, opt for dairy-free dark chocolate.
- Adding Fruit or Nuts: Mix chopped fruits like strawberries, blueberries, or bananas into the ice cream before freezing. You can also add a layer of nut butter inside the molds for a creamy surprise.
- Seasonal Flavors: Experiment with different flavors based on the season. For example, use peppermint ice cream and white chocolate coating for a winter treat, or mango ice cream with dark chocolate for a summer refreshment.
- Spiced Chocolate Coating: Add a pinch of cinnamon, cayenne, or chili powder to the melted chocolate for a spicy kick.
- Cookie Crust: Sprinkle crushed cookies or graham crackers into the molds before adding the ice cream for an added crunch.
Common Mistakes to Avoid
Making homemade Eskimo Pie Popsicles is relatively straightforward, but a few common mistakes can impact the final product. Here’s how to avoid them:
- Chocolate Too Thick or Thin: If your chocolate coating is too thick, it might crack when you bite into the popsicle. Adding a small amount of coconut oil will help thin the chocolate and make it more pliable. Conversely, if the chocolate is too thin, it won’t provide enough coverage. Adjust the coconut oil ratio to achieve the desired consistency.
- Popsicles Sticking to Molds: If the popsicles are difficult to remove from the molds, run warm water over the outside of the mold for a few seconds. This should loosen the popsicle enough to slide out easily.
- Uneven Ice Cream Distribution: To avoid air pockets or uneven layers in the popsicles, take your time when filling the molds. Smooth the ice cream with a spatula and tap the molds gently on the counter to remove any air bubbles before freezing.
FAQs
- Can I use store-bought ice cream? Yes, store-bought ice cream works perfectly for this recipe. However, if you have the time, homemade ice cream can add an extra level of freshness and flavor.
- How long do the popsicles last in the freezer? When stored properly in an airtight container, these popsicles can last up to two weeks. Be sure to wrap them individually to prevent freezer burn.
- What if I don’t have popsicle molds? No worries! You can use small paper cups or silicone baking cups as an alternative. Just insert the popsicle sticks once the ice cream has partially frozen to keep them upright.
Conclusion
Making homemade Eskimo Pie Popsicles is a fun and rewarding process that results in a delicious treat perfect for any time of the year. With the ability to customize flavors, coatings, and add-ins, you can create a frozen dessert that’s uniquely yours. Whether you’re reliving childhood memories or trying something new, this recipe is sure to become a favorite.
Give this recipe a try and feel free to experiment with different variations. We’d love to hear about your creations and any personal twists you’ve added to the recipe. Enjoy your homemade Eskimo Pie Popsicles!
Related Recipes
Additional Resources
- The Ultimate Guide to Homemade Popsicles
- Top 10 Ice Cream Recipes to Try at Home
- How to Temper Chocolate Like a Pro
Reader Interaction
We’d love to hear your thoughts! Have you tried this recipe? What flavors or variations did you create? Leave a comment below to share your experience.
Also, take our poll: What’s your favorite popsicle flavor?
SEO Meta Information
Meta Title: Homemade Eskimo Pie Popsicle Recipe – Easy and Delicious!
Meta Description: Discover how to make your own Eskimo Pie Popsicles at home with this easy recipe. Perfect for a summer treat, these chocolate-covered ice cream pops are a hit with all ages!


Leave a Comment